
How To Get Started In Photography

HOW TO GET STARTED IN PHOTOGRAPHY

Your fancy camera called... It wants you to learn how to use it!
So where do you begin? How do you improve your photography?
STEP 1
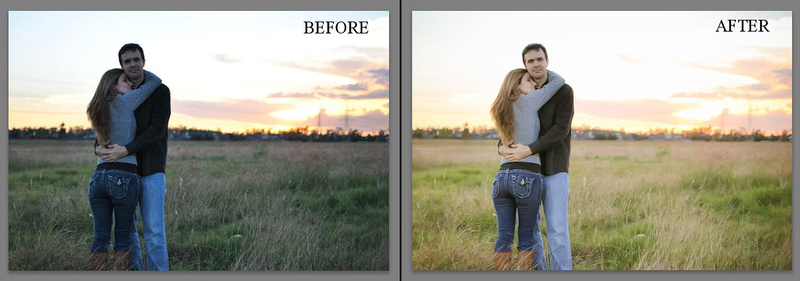
Step 1: The first step is to find what you believe to be an amazing photo and study it. Look through magazines or browse the internet until you find a photo that you want your photography to be like. Choose one photo at a time and study it. And I mean STUDY IT. Stare at it and examine every detail about it. Was it taken indoors or outdoors? Where does the main light source seem to be coming from? Above? To the left? Is there more than one light source? What time of day does the photo seem to take place? Evening? Night? Noon? Are there people in the photo? Are they looking directly at the camera? Are they looking away? Can you see reflections in their eyes? Where is the photo taking place? Is the background blurred? What seems to be in focus in the picture? Is the focus off-centered in the photo? Was the photo taken straight-on or from a step ladder? Or from the floor? Is the photo posed or candid? Is this an action shot? What do you like best about the photo? Why do you think you like it so much?
After you do this with one photo, find another. Choose another photo that you think is absolutely amazing and study it. What is different about this one compared to the first photo you chose? You might find that they are very similar and you can start to discover your eye for what you like. Are you drawn to wedding photography? Child photography? Night photography? Nature photography? Fashion photography? Fine art photography? Animal photography? Sports photography? You will start to see a pattern after choosing your favorite photos while studying them.
[Keep in mind, I'm a maternity, newborn, family, child, senior, wedding photographer. Any advice I give pertains to that type of photography.]
STEP 2
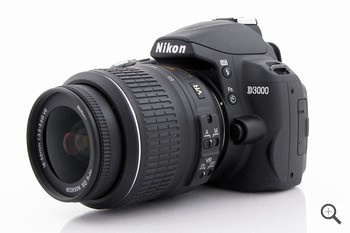
Step 2: You need a DSLR camera. Should you go with Nikon or Canon? Or something else? That's completely up to you. I chose Nikon because I knew other photographers with Nikons, and I knew they could help me if I had questions. Most importantly, I could try out their lenses! Before you buy a DSLR camera, do some research and read reviews. Or find a photography website you admire and ask that photographer what he/she uses. Many camera stores will let you rent a camera for a few days, so you might try doing that. Humble Camera Center in northeast Houston is a great location for camera rentals. Every photo you see on my website [www.awalkerphoto.com] was taken with my Nikon D3000. I've also had the more professional Nikon D300, and even the newer Nikon D5200, but I always resort back to my D3000. Why? I'm so familiar with it and it's never given me problems. I've found that the camera base doesn't particularly matter too much for a beginner. What DOES matter is the lens. This is my trusty Nikon D3000 shown with the basic factory lens.
STEP 3
Step 3: So... the lens. Most DSLR cameras come with a basic (usually cheap) factory lens. My Nikon D3000 originally came with a basic 18-55mm lens, shown above. I don't recommend this lens if you are wanting to turn to professional photography, especially portraits. I don't recommend this lens at all! I admit, it was quickly shoved at the back of a drawer, and I'm not even sure if I've seen it in five years.
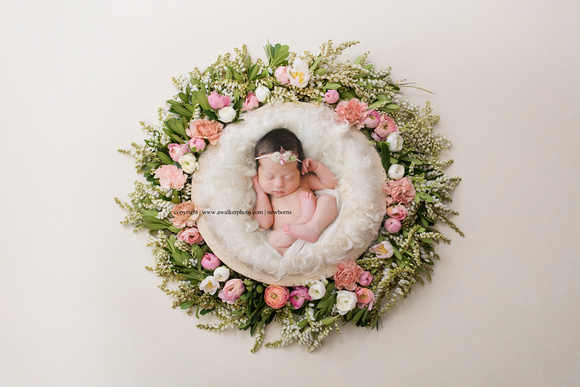
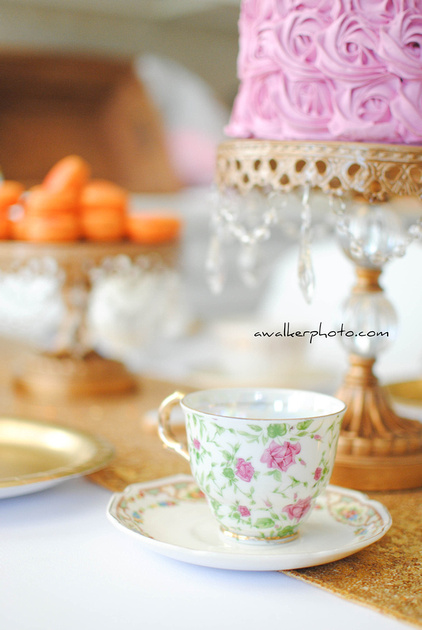
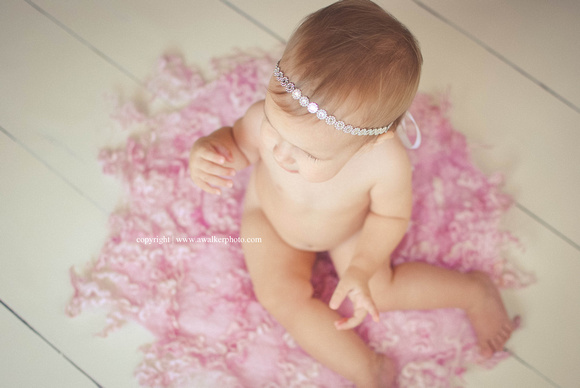
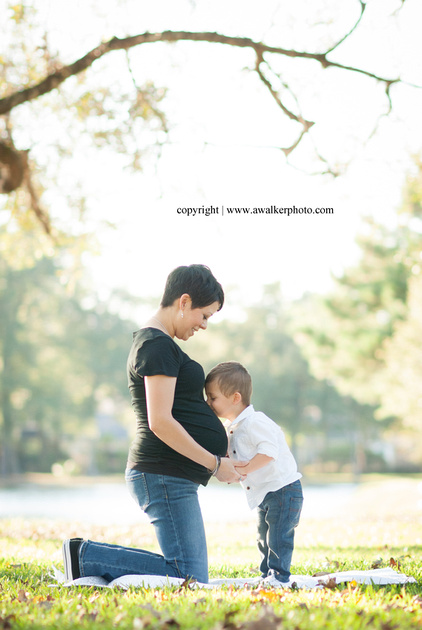
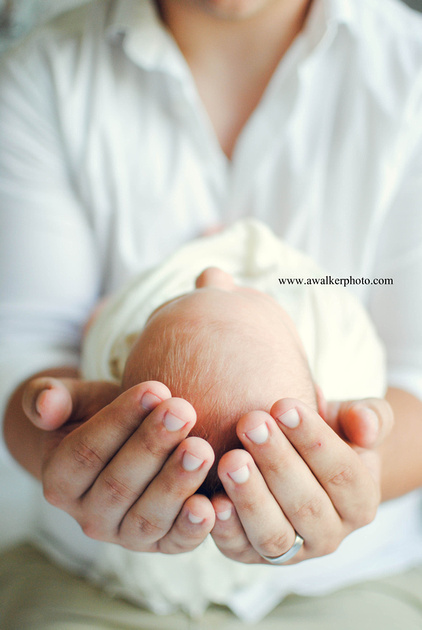
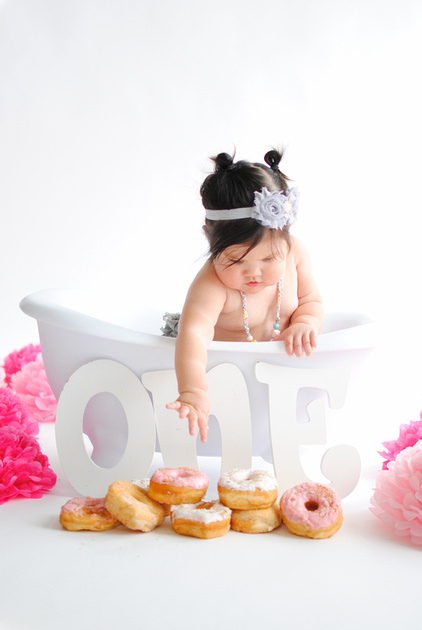
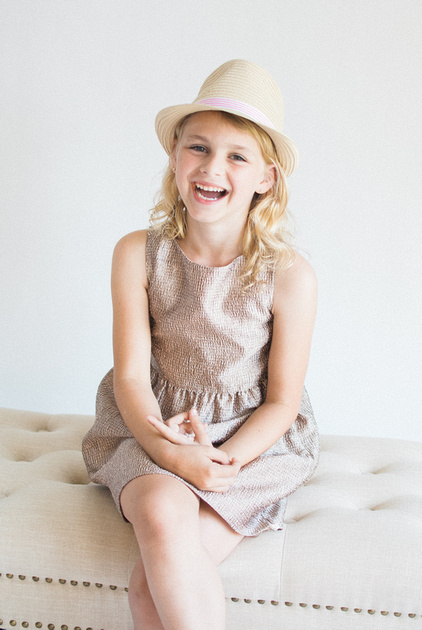
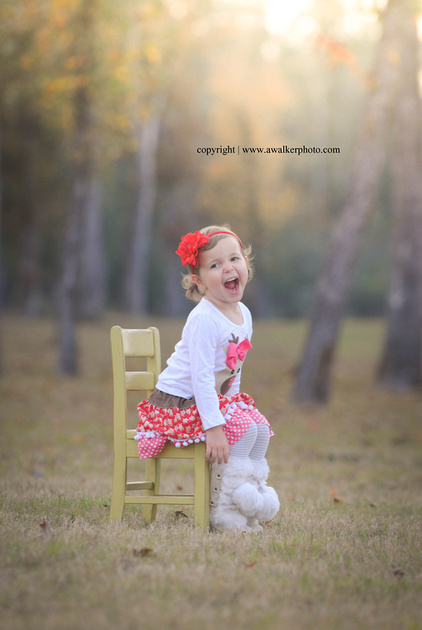
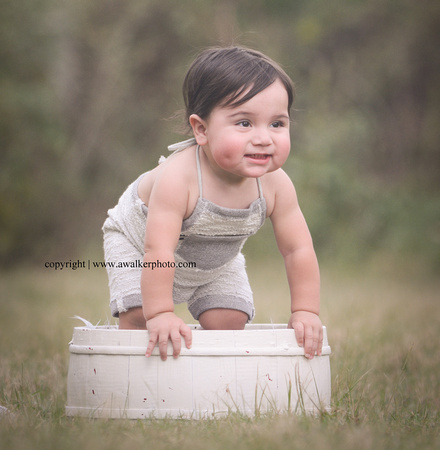
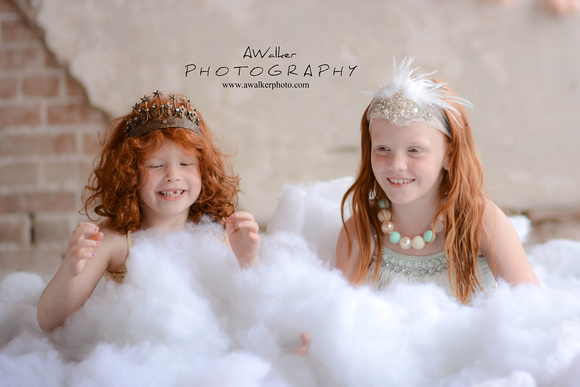
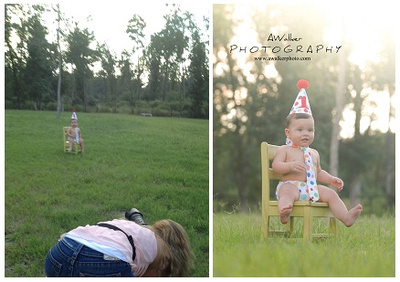
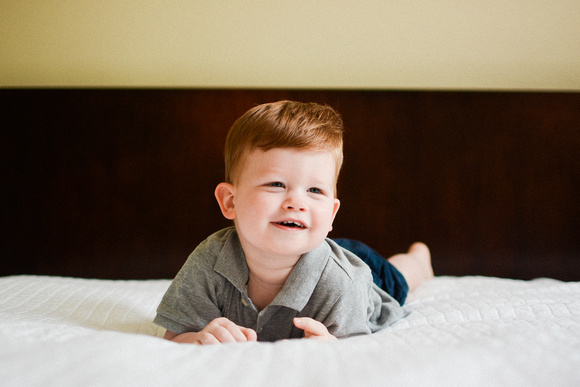
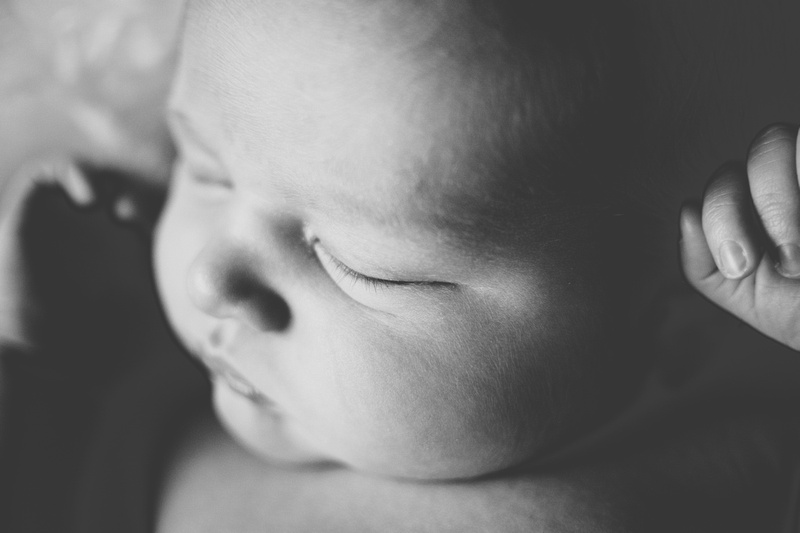
For a good first portrait lens (disregard if interested in sports photography), I recommend a 35mm 1.8, which is probably around $150. This is a great go-to lens for anything close-up, like newborn portraits and toddler cake-smash sessions, and it's great for capturing large group family shots. It's not for sports (action) shots, although a daddy can lightly toss his toddler in the air and it will nicely capture it. It gives a nice blurry background if taken close enough to the subject. Here are some of my shots taken with my 35mm 1.8 lens:
__________________________________________________
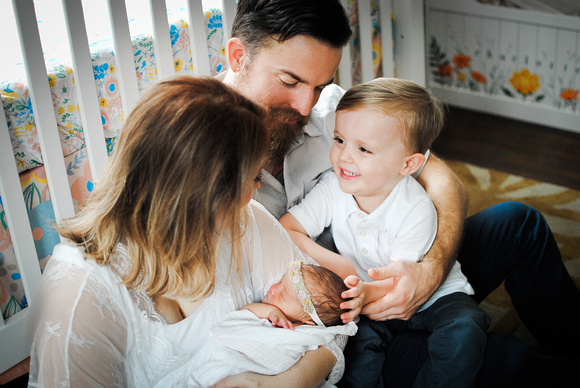
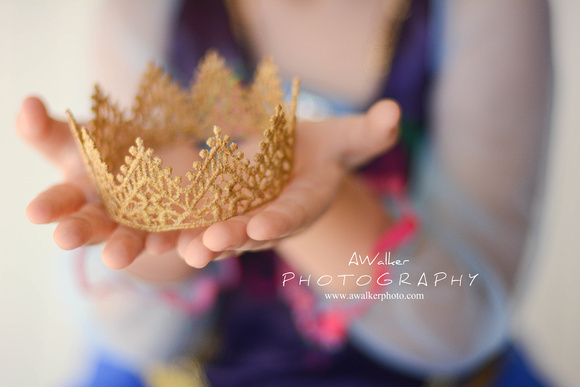
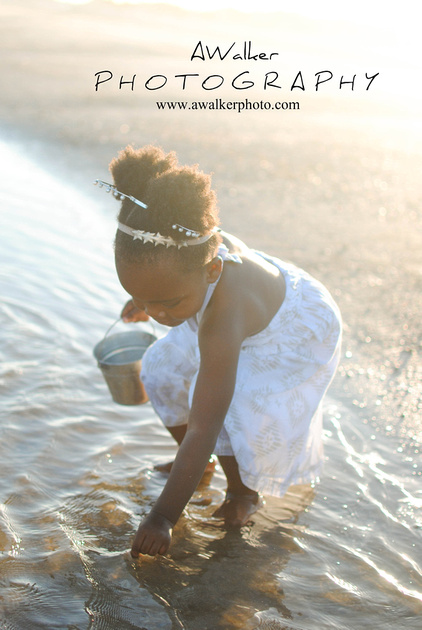
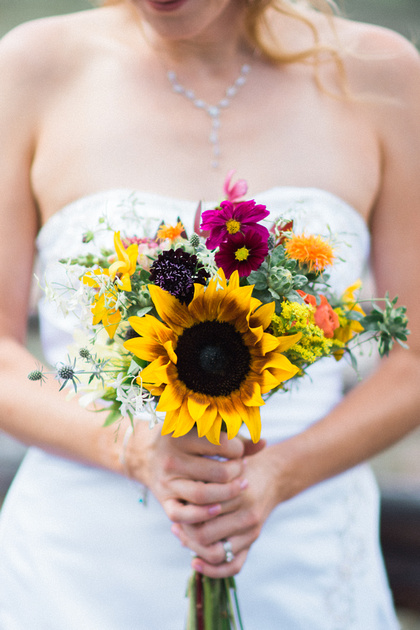
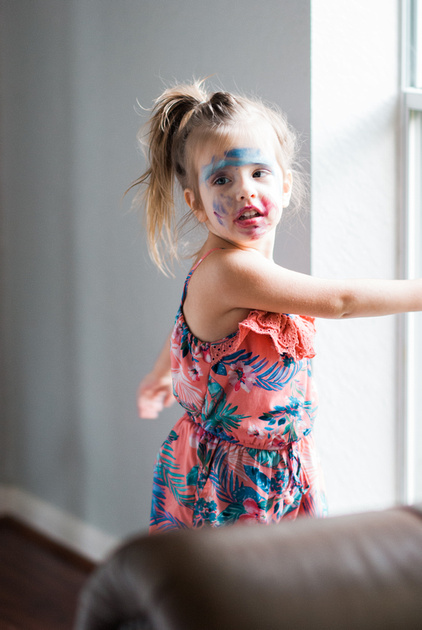
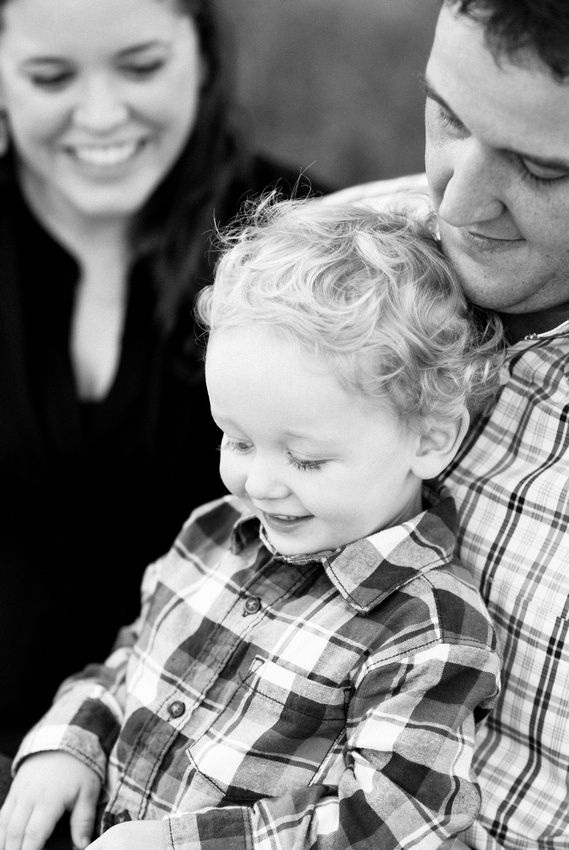
Another great lens for portraits is the 50mm 1.4, which is generally around $350. If you like blurred backgrounds, then this is the lens for you. You don't have to be too far from your subject, so this is a great lens for parties and events, and especially close-up shots of food or product photography for stores. Here are some of my shots taken with my 50mm 1.4 lens:


___________________________________________________
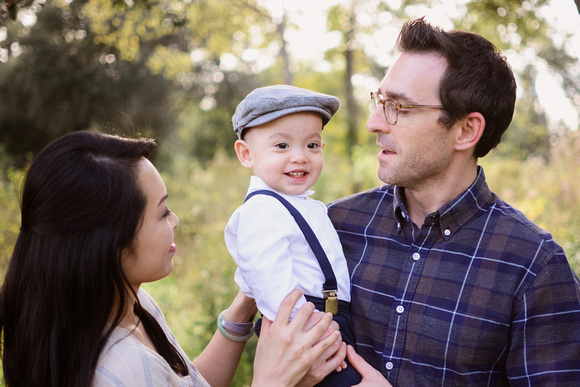
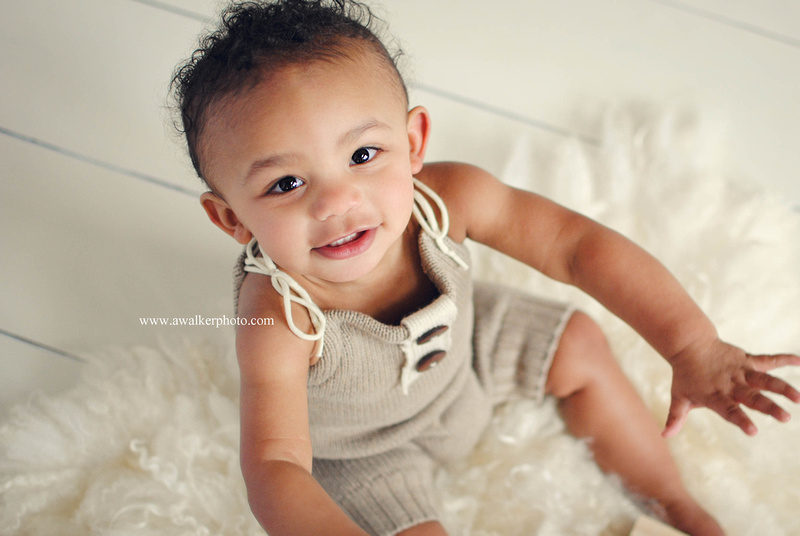
Another great lens I own is the huge 70-200mm 1:2.8G lens, which is the favorite of most portrait photographers. You will get some mad respect by having this lens on your camera! This lens costs close to $2000.00, but don't forget you can buy it used for way cheaper. But man, this thing is heavy! I get a nice arm workout each time I use it. I have to be pretty far back to take portraits with this one, but they always turn out amazing. This lens is best for 1 to 2 subjects, but not really for an entire family (unless you move the aperture up to about 4.0). This is a great sports lens, if you are into that. For portraits, it gives a hazy effect, as you can see in the examples below. Here are some of my shots taken with my 70-200mm 1:2.8G lens:
_________________________________________________________________
But notice how far away I have to be from the subject...
_____________________________________________________________________________
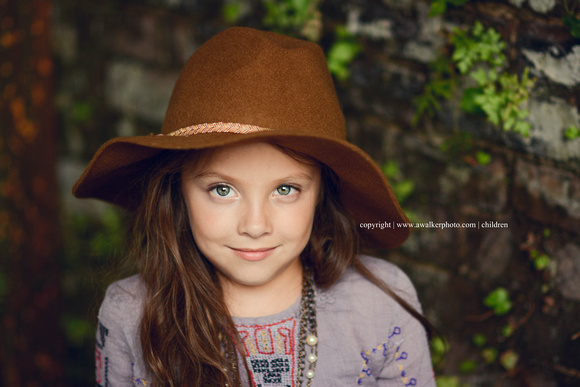
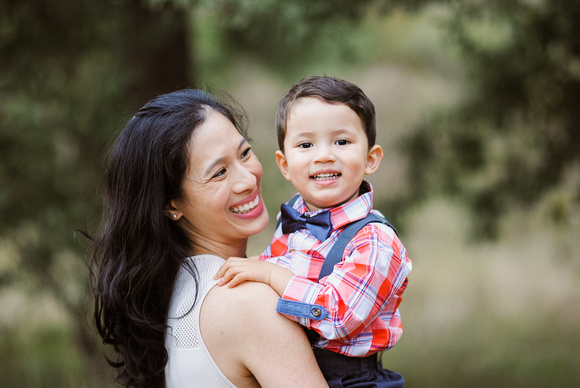
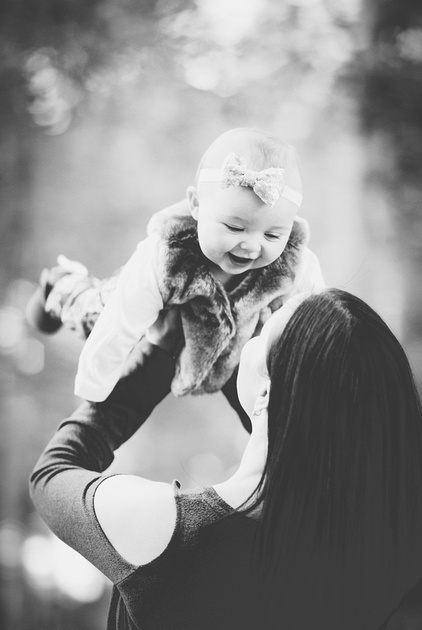
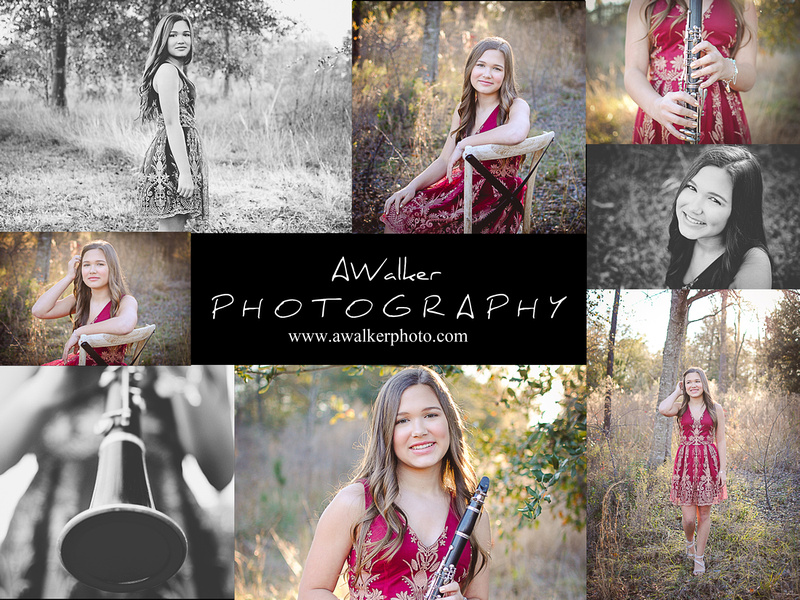
And now for my very favorite, final lens: My 85mm 1.4. It's not my shortest lens; it's not the longest; it's not the heaviest I own, but it's definitely the fattest. I have to be pretty far back with this lens for portraits, but the effect is spectacular and the shots are so crisp. Make sure to always focus on the subject's eyes and they will always be sharp. This is my go-to lens for outdoor weddings, beach portraits, maternity, and outdoor family photos. Here are some examples taken with my 85mm:
_____________________________________________________________
STEP 4
Step 4: Turn that little dial to MANUAL mode. I know it's scary! Do it! Do it! Really, just practice practice practice in manual mode. Make yourself a little cheat sheet on your hand if you have to. Carry your camera everywhere you go. And I do mean EVERYWHERE. Take it to work. Take it to the grocery store. Take it on walks at the park. Practice on your kids, your house, your neighbors, your friends, your pets. Take photos at different times of day. For the photos I tend to like with blurry backgrounds, try keeping the aperture (that 1.4 number) set to 1.4 or 1.8 and don't change it. Instead, change the shutter speed to 4000 in really bright sunlight or 250 (and lower) at dusk. I never go below 50 or the photos will be out of focus and too grainy. Try doing all of this with the ISO on manual, then after you get the hang of shutter speed, you can start to play with ISO. I generally keep the ISO on 200 at all times, except for in-studio newborns, which I set to 400.
So there you have it: How to get started in photography...
(1) Study a photo that you think is amazing to figure out your style and what you like.
(2) Buy a DSLR camera base.
(3) Invest in a really good lens.
(4) Start shooting in manual mode.
The next step? EDITING. Try out a photo-editing program like Photoshop or Lightroom to really make your images pop. Then eventually build up a basic portfolio and try starting a photography business! Stay tuned for my advice on that. Blog post coming soon.
-----------------------------------------------------------------------------
Book a Houston session with AWalker Photography at
www.awalkerphoto.com
copyright Adrienne Walker Photography of Houston, TX
AWalker Photography